
Professional touchscreen: how to choose and integrate it
Use case, location, brightness, mounting, software and maintenance: the key factors to review before integrating a professional touchscreen.
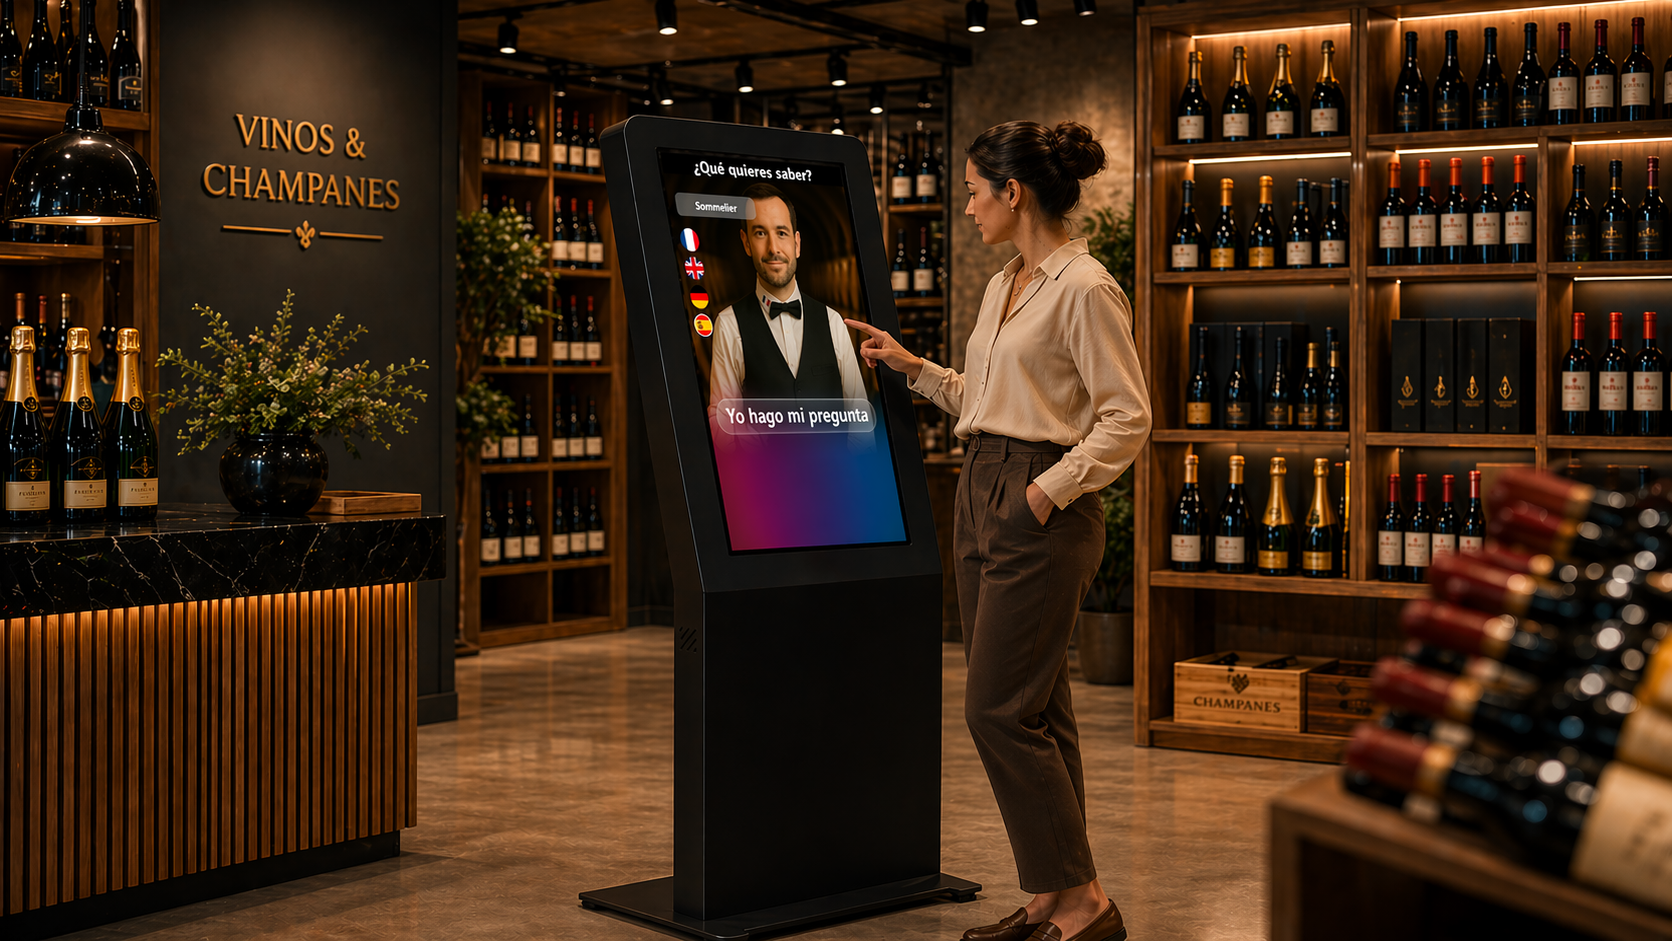
A professional touchscreen should not be selected solely for its size or perceived image quality. In a store, reception area or public-facing venue, its relevance begins with the task it supports: finding a product, browsing a catalogue, getting directions, completing a form or accessing a service.
The hardware must then suit its location, frequency of use, audience and the system delivering the interface. Choosing it too early can make installation, usability and maintenance more difficult. The following method helps teams define the project before selecting and integrating an interactive display.
1. Start with the service, not the screen
The first question is not “which display should we buy?” but “what must the user be able to do?”. A quick information request does not require the same interface as a configurator, interactive map or form. Describe the expected journey, its starting point and its useful outcome: obtaining information, finding an area, comparing products or submitting a request.
This scenario helps estimate session length, the number of steps and the required level of precision. It also reveals whether touch is genuinely useful. For a message designed only to be viewed, a conventional digital signage display will often be simpler. Touch becomes relevant when it provides access to selected content or an action that cannot be presented clearly through a linear playlist.
2. Examine the installation environment
Before choosing a screen size or format, record the constraints of the site. Ambient light affects readability. Available viewing distance determines a comfortable size. Movement around the unit influences the user’s position and the type of mount or enclosure required. A narrow aisle, entrance area or location facing a bright light source therefore requires specific assessment.
- Measure the available space, viewing distance and circulation areas.
- Identify reflections, changing light levels and nearby heat sources.
- Check access to electrical power and the planned network connection.
- Allow the enclosure to open and remain technically accessible after installation.
- Identify risks of impact, obstruction or movement of the support.
These checks should take place under real operating conditions, rather than relying only on a floor plan. A clear area before opening may later be occupied by a queue, temporary furniture or a sales event. The unit must remain visible and accessible throughout a normal working day.
3. Choose size, orientation and operating position
A larger screen does not automatically create a better experience. For individual interaction, the relationship between the hand, eyes and interface matters more than visual impact. Portrait orientation often suits lists, information sheets and vertical journeys. Landscape can make maps, comparisons and wide visual content easier to explore. The final decision should follow the interface being developed.
Mounting height deserves equal attention. Main controls should be reachable without unnecessary effort. In a venue serving different audiences, teams should consider several user positions and avoid placing important actions at the edges of the screen. This is both a furniture and interface-design issue.
4. Test touch performance with the real interface
A technical data sheet cannot fully describe the quality of an interaction. Test the display using the intended interface: selecting a button, scrolling, entering information and returning to the home screen. Perceived responsiveness depends on the complete system, including the panel, touch detection, application and the hardware running it.
The test should reproduce the gestures users will actually make. An interface based on large selection areas tolerates more imprecision than a dense interactive map. Teams should also review expected usage conditions, surface cleaning and the possibility of accidental touches. The aim is not to select the most sophisticated technology, but the one that supports the journey consistently.
5. Design the display, mounting and interface together
A touch project combines at least a display, mounting system or enclosure, power supply, connection and application. These elements should not be handled in isolation. An attractive kiosk can be difficult to maintain if access to its components is blocked. Conversely, a suitable screen loses value when cables remain exposed or the mount moves during interaction.
The development of interactive store concepts demonstrates this principle: the unit must fit the customer journey, invite interaction and lead quickly to useful information. It is not simply a standalone item of furniture; it becomes a service point within the space.
6. Plan content delivery, connectivity and session reset
Daily operation should be defined before deployment. What happens after a period of inactivity? How does the interface return to its initial state? Who updates the information? Does the content constantly depend on network access? What does a visitor see when a resource is temporarily unavailable? Answering these questions prevents a powered-on display from showing a frozen page or a previous user’s session.
When a touch device also presents communication content, the attraction mode and interactive journey must be clearly separated. SanDisplay can be used to create, schedule, distribute and remotely supervise content across a display network. Its integration should be assessed according to the project architecture and the precise role assigned to each screen.
7. Organise cleaning, maintenance and support
Touch interaction involves frequent contact and makes fingerprints immediately visible. Cleaning procedures must follow the recommendations for the selected equipment and fit the site’s operating routine. Named team members should also be able to check power, connectivity, application status and the return to the home screen.
A short operating guide is often more useful than a complex procedure. It can identify technical access points, the authorised restart method, support contact and basic checks. For a multisite network, a consistent inventory of displays, mounts and associated components also makes intervention and replacement easier to organise.
8. Validate a prototype before wider deployment
Before rolling out multiple units, a prototype enables teams to test their assumptions in the field. Observe whether visitors recognise the service, understand the first screen and complete the journey without assistance. Local staff can identify positioning, content and operating issues that workshop tests may not reveal.
Validation should therefore cover more than touch operation. It should include readability, mount stability, cable integration, automatic return to the home screen, content updates and the support process. Adjustments can then be completed before the installation is replicated.
Let the use case guide the hardware decision
The right professional touchscreen remains readable, accessible and straightforward to operate in its real environment. Hardware selection follows the definition of the service, user journey, location and operational responsibilities. ALLSAN can assess the display, integration and delivery method suited to your project. To define your future installation, tell us about your use case and installation site.