
Digital signage software: how to run acceptance testing before deployment
From content creation and scheduling to playback and monitoring, learn how to build a practical acceptance test plan before deploying digital signage software.
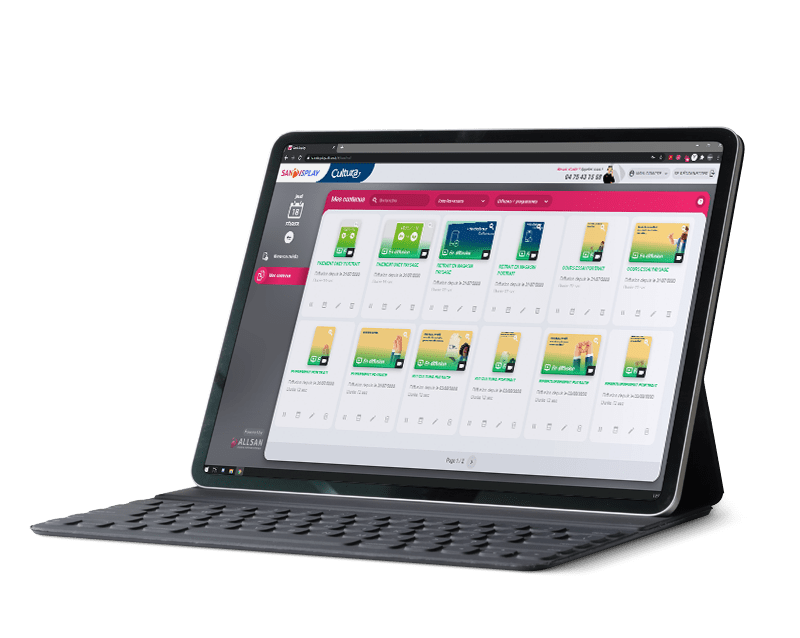
Before deploying digital signage software, a successful demonstration is not enough. The project team must verify that real operating scenarios can be completed without ambiguity: preparing content, selecting screens, scheduling playback, checking the result and handling any discrepancy. Acceptance testing connects the software with the organisation that will operate it every day.
Testing should cover the entire workflow rather than only the appearance of media. When evaluating SanDisplay, the digital signage software developed by ALLSAN, teams should start with use cases that represent the future screen network and define exactly what a successful result looks like.
Start with a realistic testing scope
An effective acceptance test does not attempt to examine every imaginable possibility. It covers frequent operations, sensitive actions and a few exceptional situations. The scope will vary between a reception screen, several areas of a shop, a branch network and internal communication displays because their operating constraints are different.
Before testing begins, list locations, screen formats, orientations, playback hours and message categories. The plan should also identify who prepares content, who approves publication and who monitors the network. This makes it possible to validate an operating process rather than an isolated feature.
Build end-to-end scenarios
Each test should reproduce a complete business task. A useful format describes the context, the action, the expected result and the evidence required. The scenario can then be understood by communication, IT and operations teams even when they do not use the same technical vocabulary.
- Import or create representative content, then check its framing, legibility and orientation.
- Assign the content to a screen or group that corresponds to a genuine operating case.
- Schedule a date, start time and end time, then check what happens before, during and after that period.
- Change or replace the media to test the correction process for communication that has already been prepared.
- Review the available monitoring information and define the action to take when a screen requires investigation.
Test schedules against situations that can actually occur
Scheduling deserves dedicated tests because mistakes often result from a small calendar or targeting detail. Test consecutive campaigns, two communications planned for the same day, an operation restricted to selected screens and the automatic removal of an expired message. Keep the test times close enough for the team to observe the full cycle.
For digital signage in a company, one scenario might combine general information on every screen with a local message at reception. In a shop, it might distinguish between the window, a promotional area and a waiting zone. These examples reveal whether the chosen network structure remains understandable when several communications coexist.
Verify playback under real conditions
Validating software on a computer does not prove that the result will suit the venue. Testing should include the selected professional digital signage displays or at least representative equipment. Examine framing, orientation, viewing distance, display duration and media transitions. Content can be playing correctly from a technical perspective while remaining too dense or difficult to read.
This step also checks consistency between the software, the screen and the deployment method. Where an existing screen network is being reused, the authorised ALLSAN information states that the solution can be adapted through an external player. The exact configuration must still be confirmed for each project because not every setup offers the same possibilities.
Include monitoring and discrepancy handling
An incomplete test ends as soon as content appears on screen. An operational test also verifies how the team checks the network remotely, interprets monitoring information and reports an issue. The aim is not to manufacture every possible failure but to ensure that people can recognise a situation requiring investigation and follow a clear procedure.
- Define the daily or periodic checks expected from the operator.
- Identify the information required to describe a discrepancy: affected screen, time, expected content and observed result.
- Specify who corrects the content, who checks the equipment and who confirms that normal operation has resumed.
- Keep a record of unsuccessful tests, the correction applied and the subsequent check.
Use objective acceptance criteria
Statements such as “it works” or “it looks right” are not precise enough. For every scenario, the test sheet should record prerequisites, actions, expected results, observed results, status and comments. A screenshot, photograph of the display or dated record can provide supporting evidence where appropriate.
A blocking issue prevents an essential scenario from working. A reservation may identify a correction that does not stop other tests. This distinction helps decision-makers determine whether deployment can begin, should be limited or must wait for further validation. It also prevents graphic preferences from being confused with operational defects.
Prepare operations before signing off
Final approval should produce resources that can be used immediately: the network structure, approved scenarios, scheduling rules, responsibilities, checking procedure and reporting template. Future operators should participate in testing because they often identify lengthy steps or unclear instructions that the project team may overlook.
Are you preparing to test or deploy SanDisplay? Share your screen network, content requirements and operating constraints with the ALLSAN team to develop acceptance scenarios suited to your organisation.